Sign up
Creating a CellRepo account establishes your personal scientific identity on the platform.
Your account can be used independently or later linked to a lab or organisation
Steps Overview
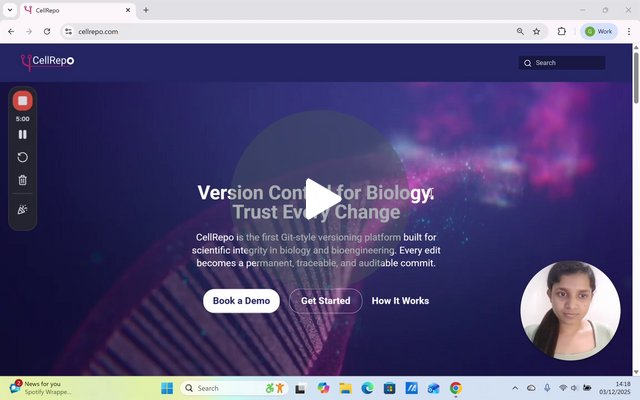
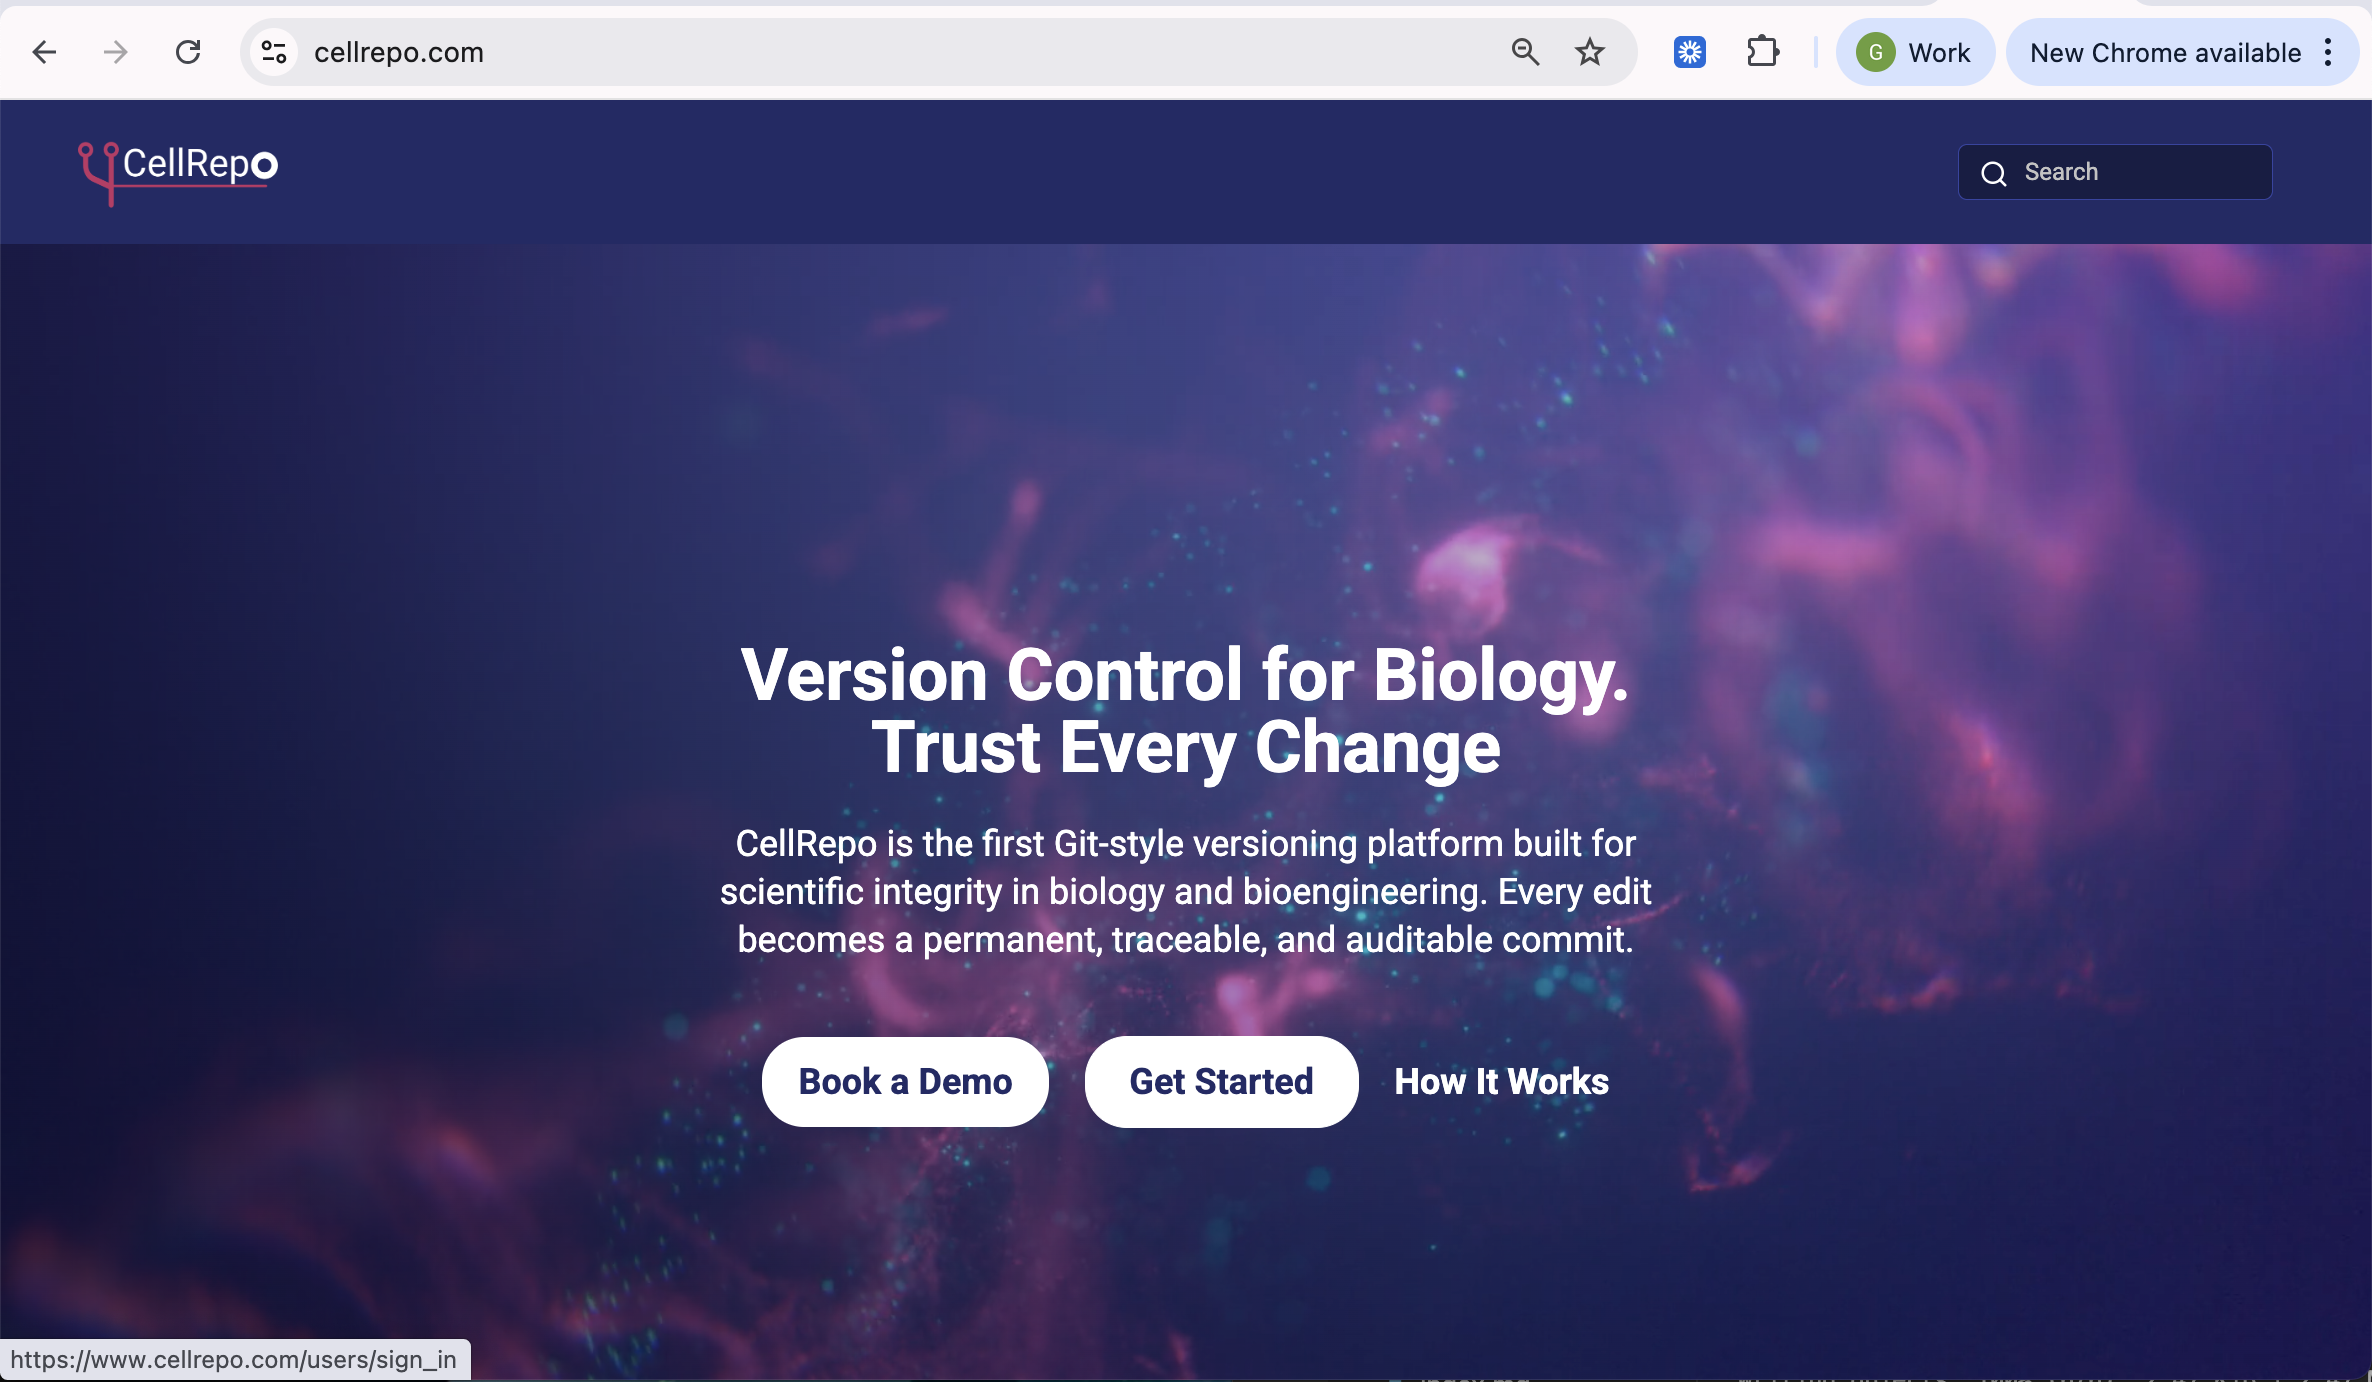
- Go to the homepage → Log In.
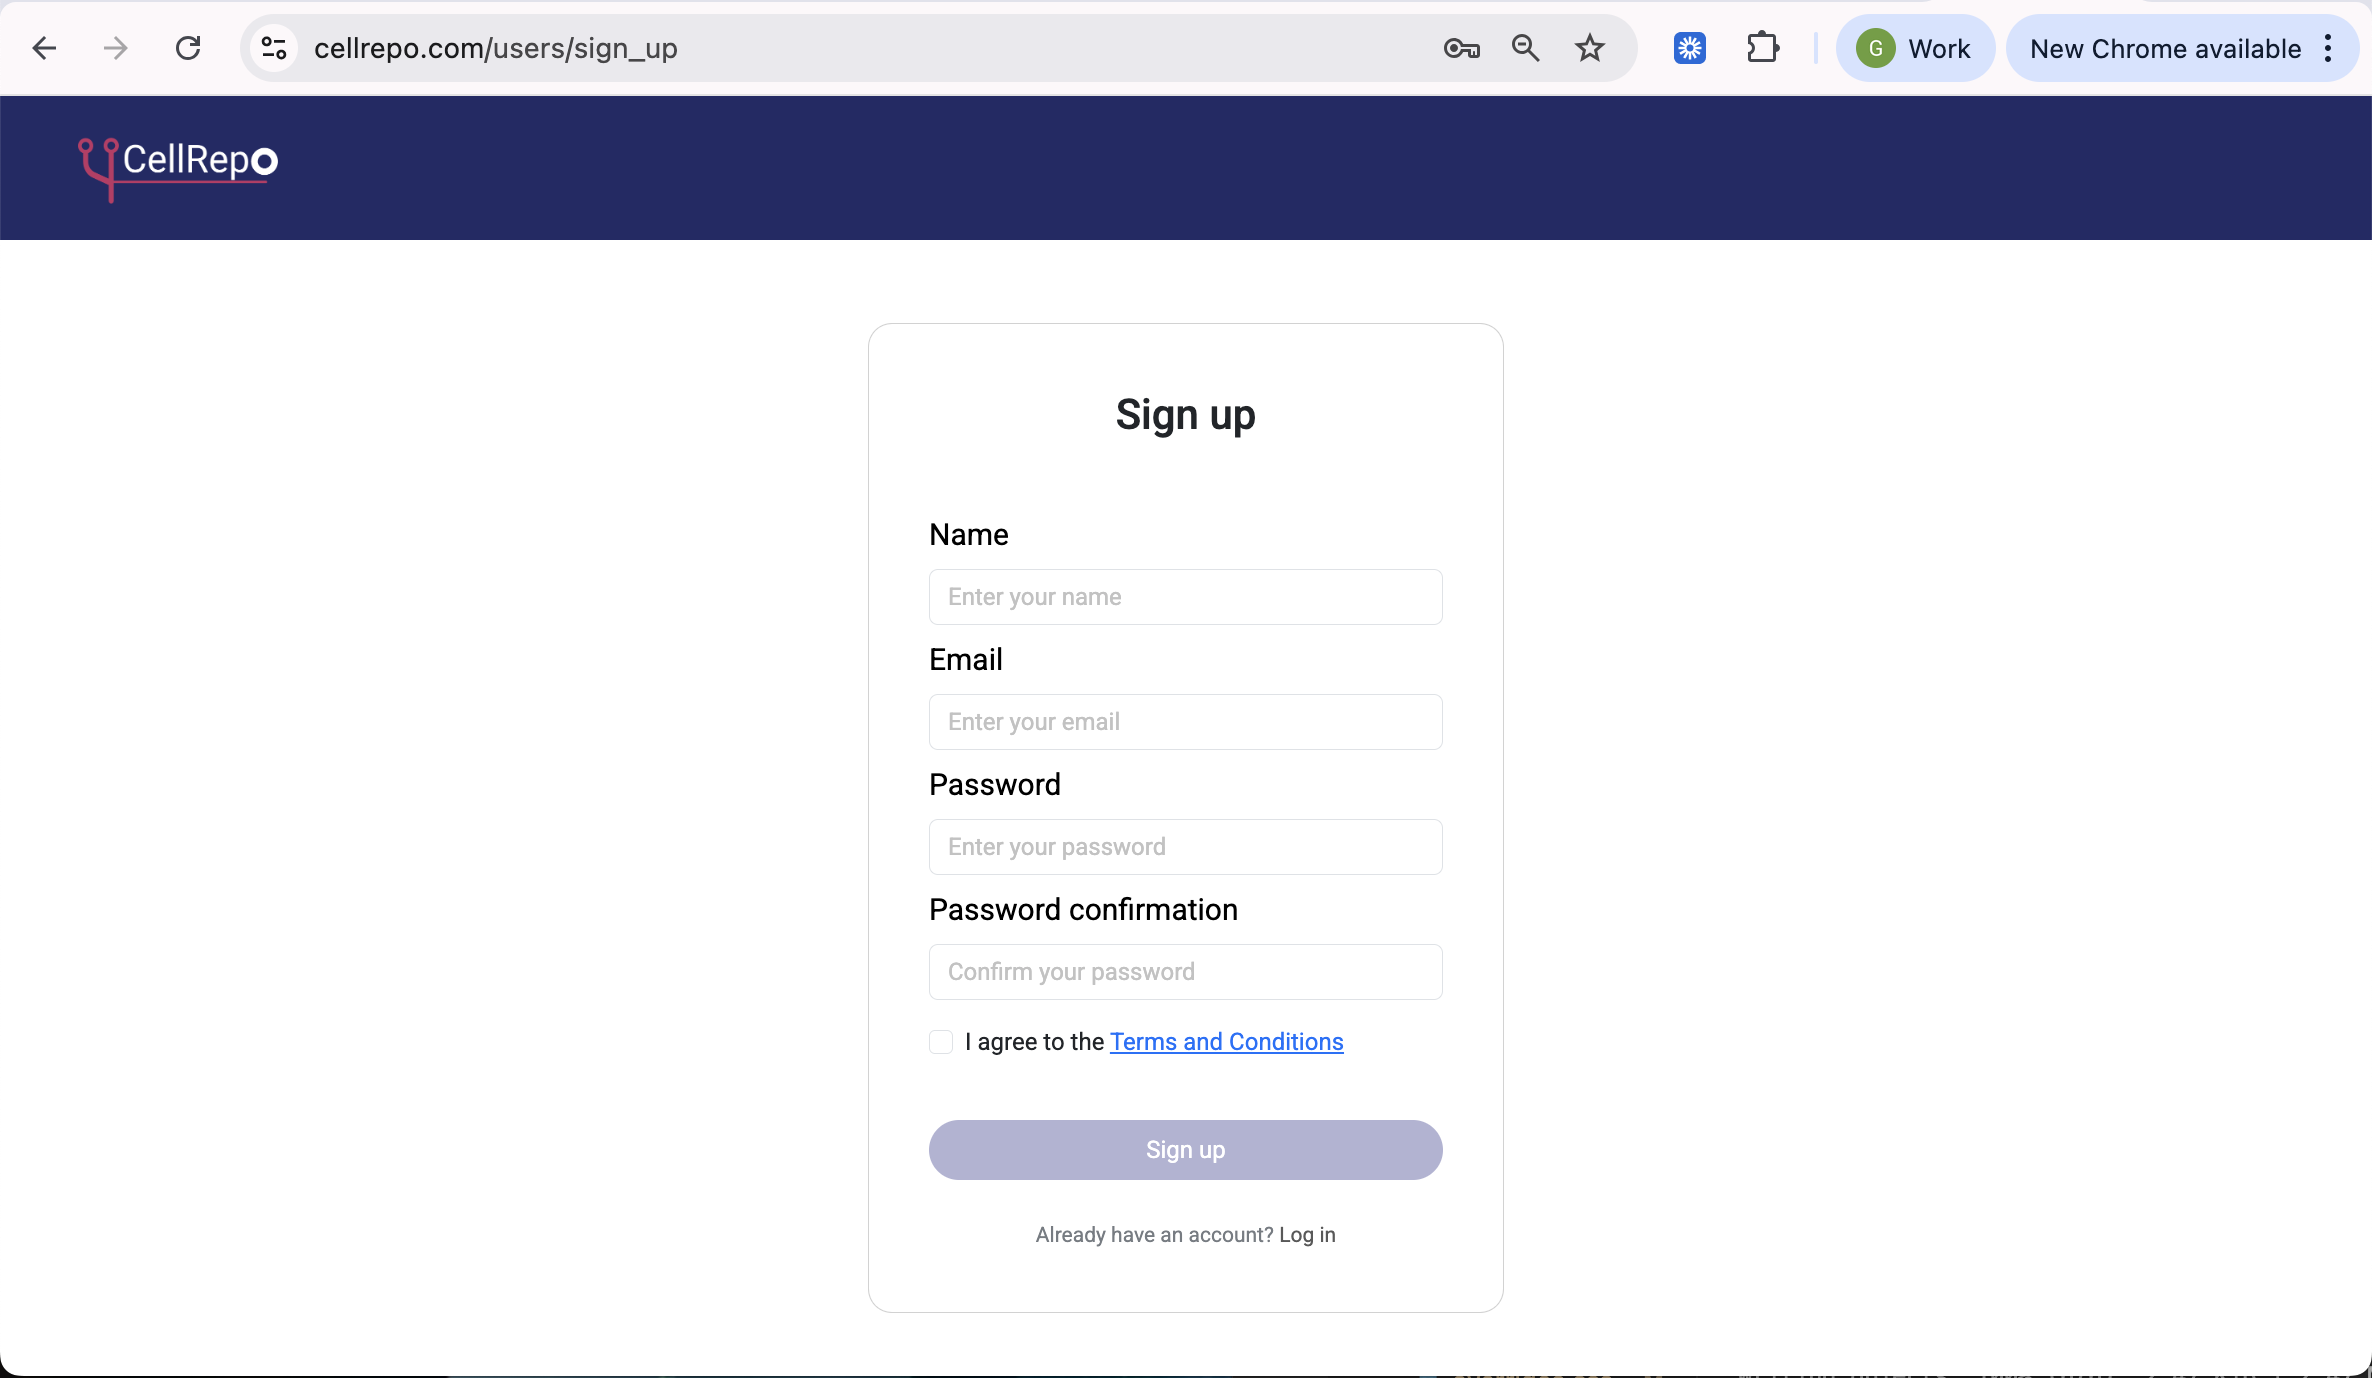
- Click on Sign up to create an account
- Enter your name, email, and password.
- Accept terms and submit the form.
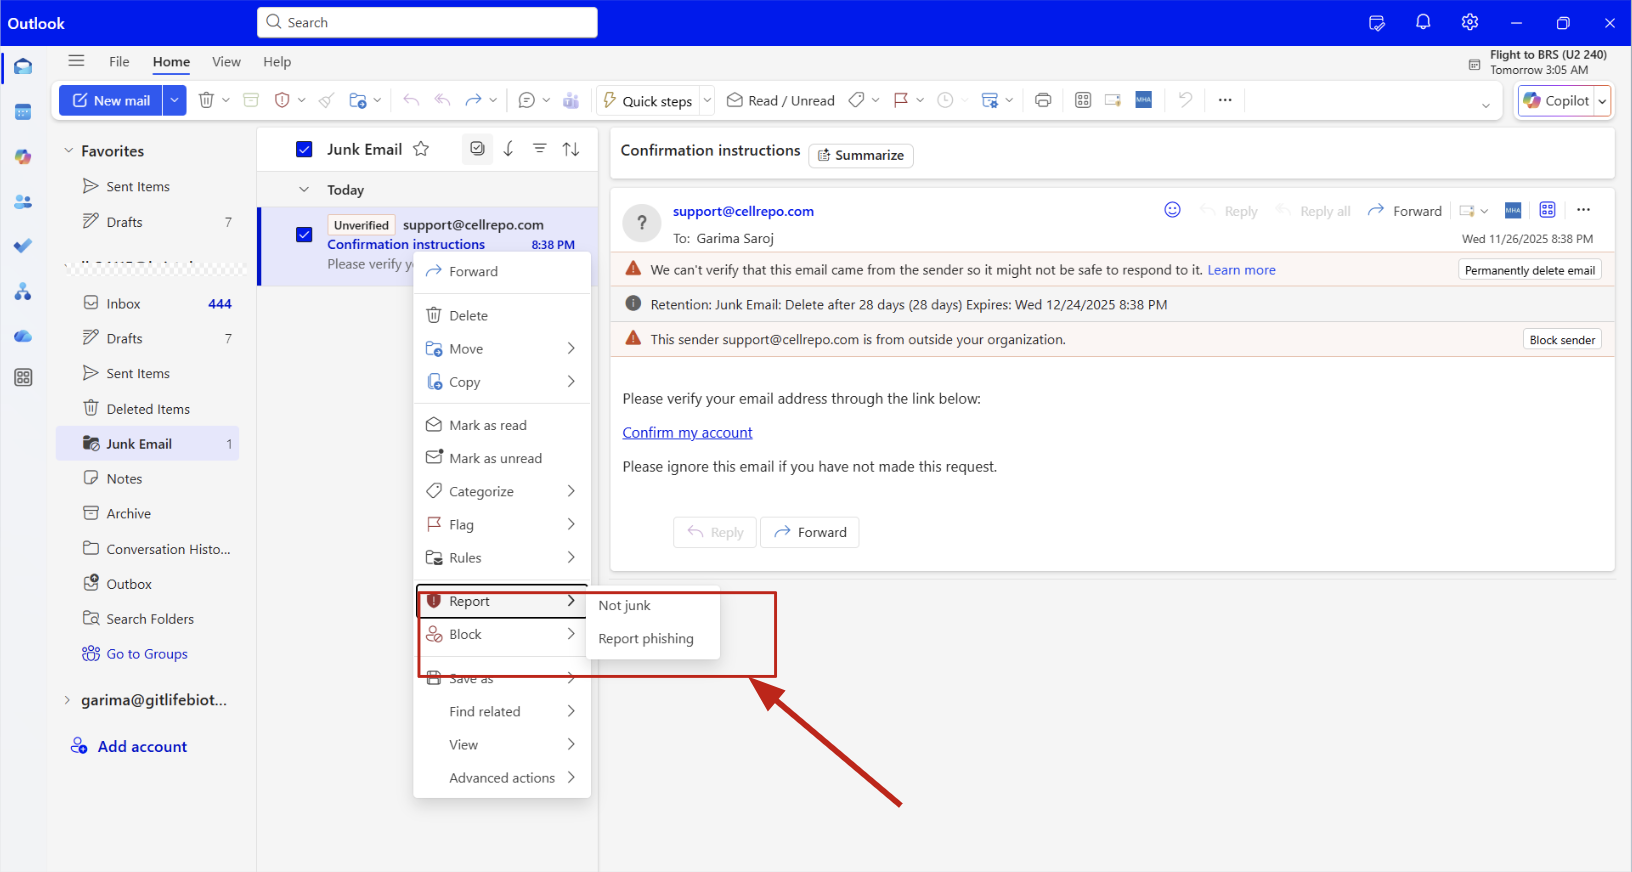
- Confirm your email (check junk/spam or quarantined messages if needed; sender: support@cellrepo.com).
- After confirmation, log in immediately; your workspace starts private.
If you prefer a visual guide, this short video covers the entire process, including email confirmation.
Detailed steps
Step 1: Open the sign-up page
Step 2: Fill in the sign-up form
Step 3: Confirm your email address
After submitting the form, CellRepo sends you a confirmation email.
Email Confirmation — Additional Troubleshooting
You must confirm your email before logging in. If the message doesn’t arrive, the most common causes are filters applied by institutional email systems.
1. Check your Junk/Spam folder Look for a message from support@cellrepo.com. If found: - Mark it as Not junk - Click the confirmation link
This improves future deliverability.
2. If you use Outlook, Microsoft Exchange, or Microsoft 365
Some organisations automatically quarantine unfamiliar external senders. If the confirmation email is missing:
- Look for a Microsoft notification about quarantined messages
- Open it → choose Release or Allow sender
If your email is centrally managed, you may need to check your organisation’s quarantine on the Quarantine port:
Go to Quantine portal:
- Browse to Security.microsoft.com/quarantine : Microsoft 365 Defender portal
- or In old UI: protection.office.com → Threat management → Review → Quarantine.
- Sign in with an account that has the right role (e.g. Security Administrator, Global Admin, etc.).
Find the message
- In Quarantine, filter by: Email (Type) / Reason (Spam, Phish, Malware, etc.) / Date / Recipient / Sender as needed.
- Click the message to open its details pane.
Release the message
-
Click Release message.
-
Choose:
- Release to all recipients
- Release to a specific recipient (depending on what the UI presents)
- Optionally tick “Report as not junk” / “Submit to Microsoft for analysis” if you trust the email.
-
Confirm.
After confirming your email
Once verified:
- Your account becomes active
- You can log in
- Your workspace remains private by default
- You do not need to join or set up an organisation yet — that can be done later if needed
Support is available at support@cellrepo.com if confirmation emails don’t arrive.
We’re happy to help you get set up.